Whimsical crafts are all about unleashing your creativity and having fun with playful projects that brighten up your space. From quirky decorations to unique gifts, these crafts can be made with simple materials you probably have around the house. Each craft comes complete with easy-to-follow instructions, a list of materials needed, and some pro tips to take your creations to the next level. It’s time to get crafty and let your imagination run wild!
Hand-Painted Wooden Blocks for Kids
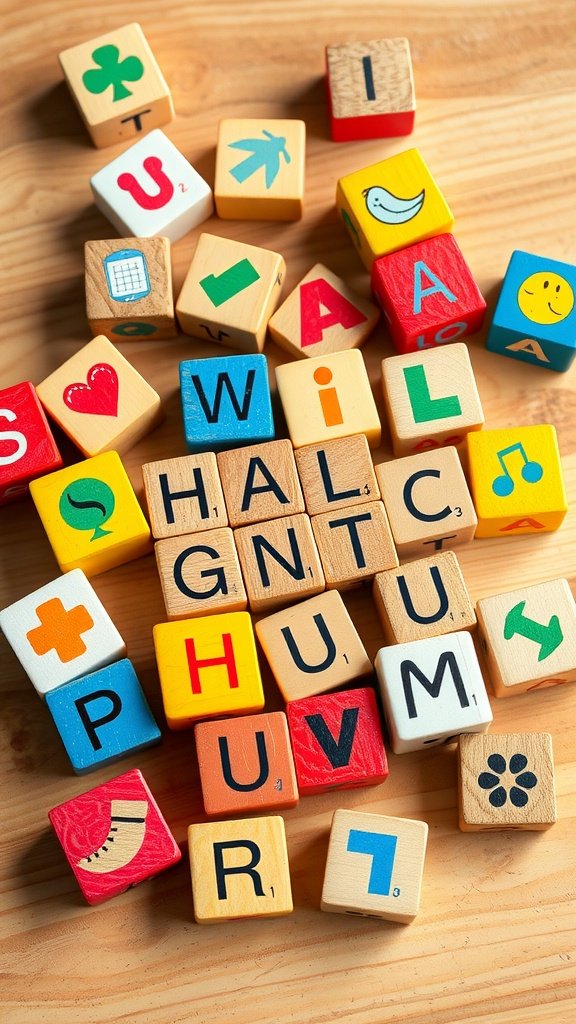
These hand-painted wooden blocks bring a splash of creativity into playtime. Each block features colorful letters, symbols, and fun designs, making them a perfect choice for kids. They spark imagination and encourage learning through play. The vibrant colors and playful images make these blocks eye-catching and engaging for little hands.
Creating your own version of these whimsical crafts can be a delightful activity. You can personalize the blocks with your own designs, adding a unique touch that kids will love. It’s a fantastic way to bond and encourage artistic expression.
Whimsical Fairy Gardens in Miniature
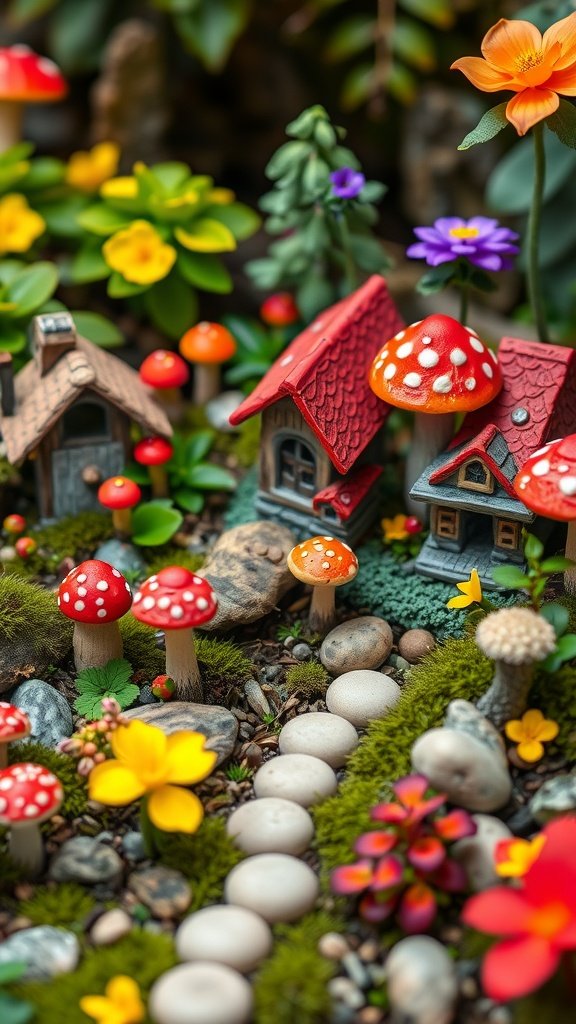
Creating a miniature fairy garden is a wonderful way to bring a touch of magic into your home. This craft involves tiny houses, colorful flowers, and charming pathways, all nestled together to create a delightful scene. The vibrant colors and playful designs draw you in, making it hard to resist adding just one more detail!
A closer look reveals cheerful mushrooms, lush moss, and tiny decorations that enhance the whimsical charm of the garden. Each element serves to spark joy and invite imagination. It’s like having a little world right at your fingertips.
Charming Upcycled Bottle Planters
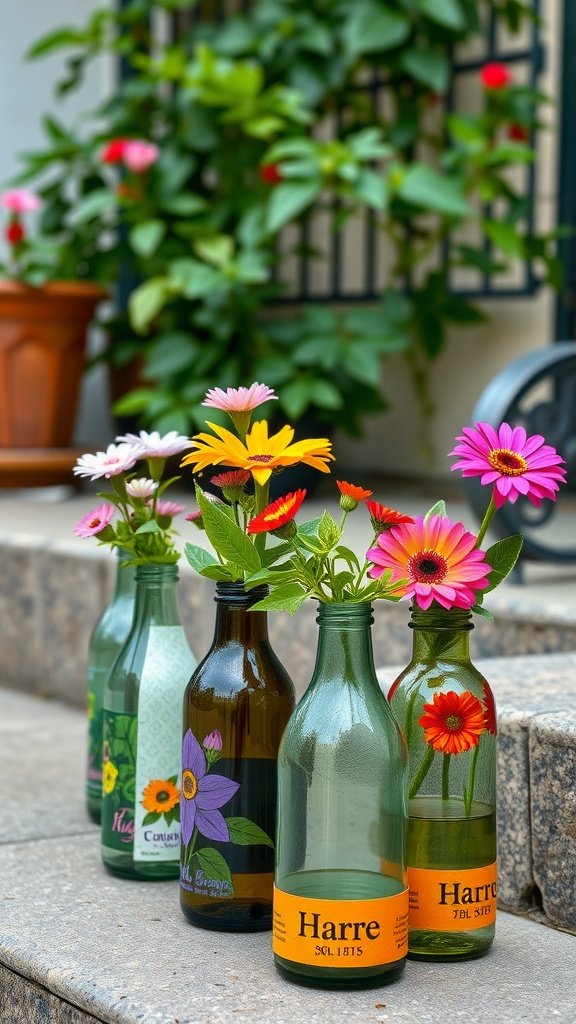
Upcycling bottles into charming planters is a fun way to bring some life to your space. You can use any glass bottle, and with a little creativity, they can become delightful decorations filled with flowers. The image shows a row of beautifully decorated bottles, each with colorful flowers peeking out. This not only brightens up a space but also makes use of items that might otherwise go to waste.
Making these whimsical crafts is easy and enjoyable. You can choose your favorite flowers to match your style or the vibe of your home. Plus, this project can be a great way to explore your artistic side by decorating the bottles.
Quirky Sock Puppets for Storytelling
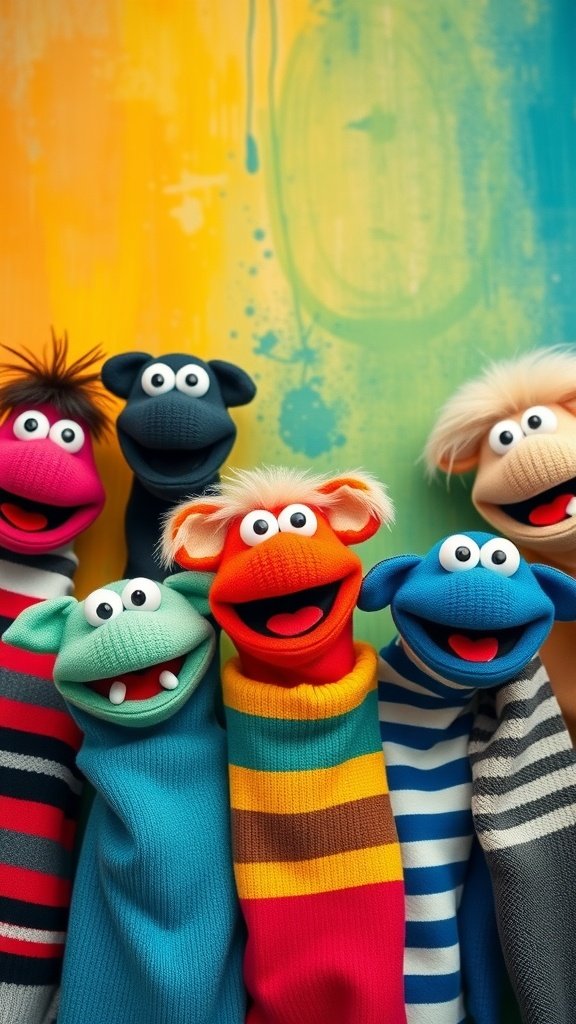
If you’re looking for a fun way to bring stories to life, making quirky sock puppets is a fantastic choice. These colorful characters are not just easy to make; they also spark creativity in kids and adults alike!
Imagine a colorful backdrop filled with happy, goofy sock puppets. Each one has its own unique personality, ready to tell a story or act out a scene. The vibrant colors and playful designs make them impossible to resist!
DIY Dreamcatchers for Magical Nights
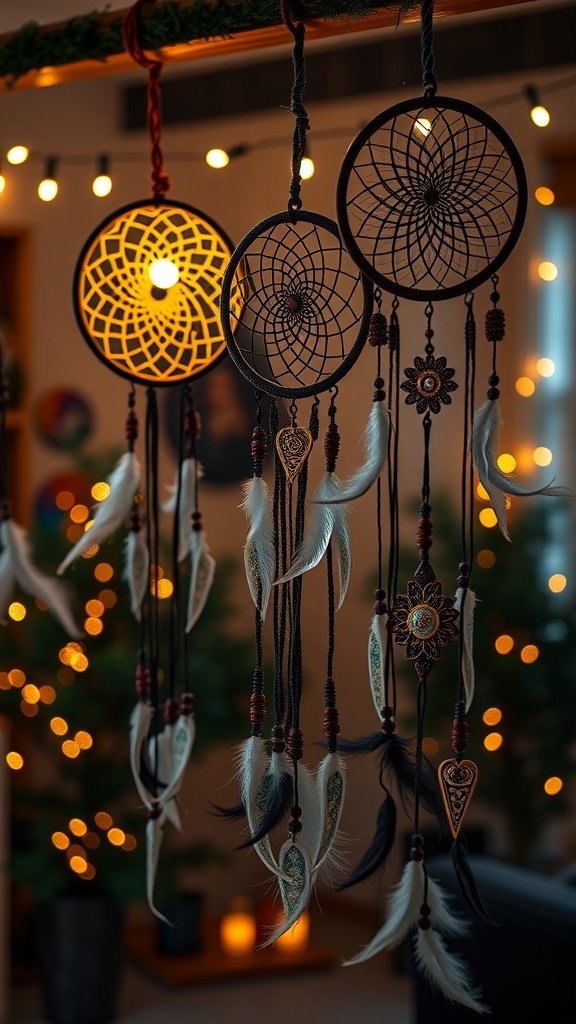
Dreamcatchers bring a touch of whimsy to any space. The image shows beautifully crafted dreamcatchers hanging in a cozy setting, adorned with delicate feathers and beads. The warm glow of lights in the background adds a magical feel, making them perfect for dreamy nights.
Making your own dreamcatcher is a fun and rewarding project. You can customize it to fit your style and create something truly unique. Let’s dive into the materials needed and the steps to create your own whimsical craft!
Magical Potion Bottles for Imaginative Play
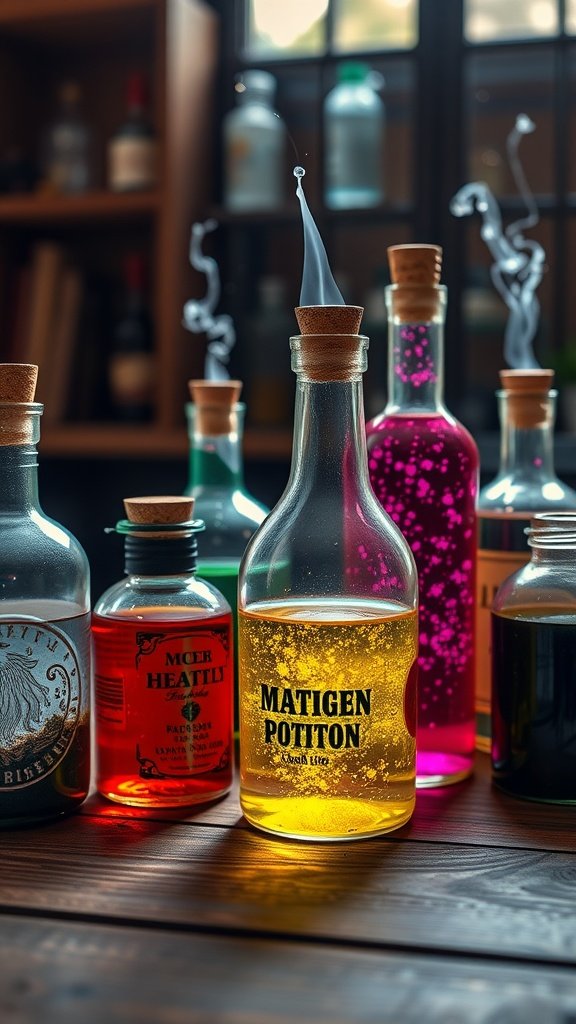
Creating magical potion bottles is a fun way to spark creativity in kids and adults alike. These whimsical crafts can be used for imaginative play or as charming decorations for your home.
In the image, we see an array of potion bottles, each filled with colorful liquids and some even emitting wisps of mystical smoke. The vibrant colors and unique labels make it feel like a scene straight out of a storybook.
Making your own potion bottles is simple and requires only a few materials. Kids can let their imaginations run wild as they invent stories about the potions they’ve created.
Rainbow Paper Mache Animals
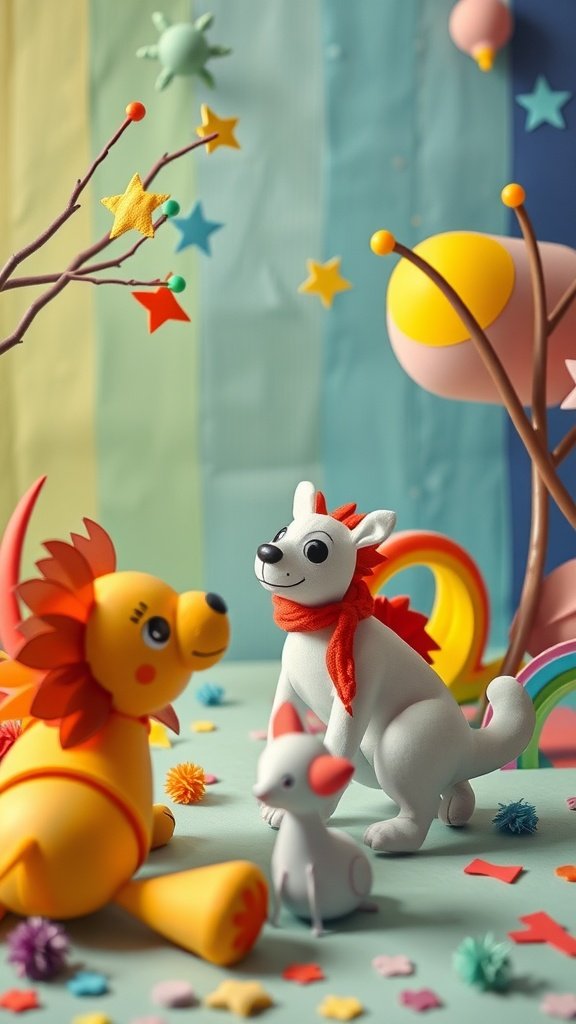
Creating rainbow paper mache animals can be a fun and colorful project! Imagine a scene filled with cheerful critters, like a bright yellow lion and a playful white dog, surrounded by whimsical decorations. These animals can bring joy to any space and spark creativity.
To get started, you’ll need some basic materials and simple steps.
Colorful Tie-Dye T-Shirts for All Ages
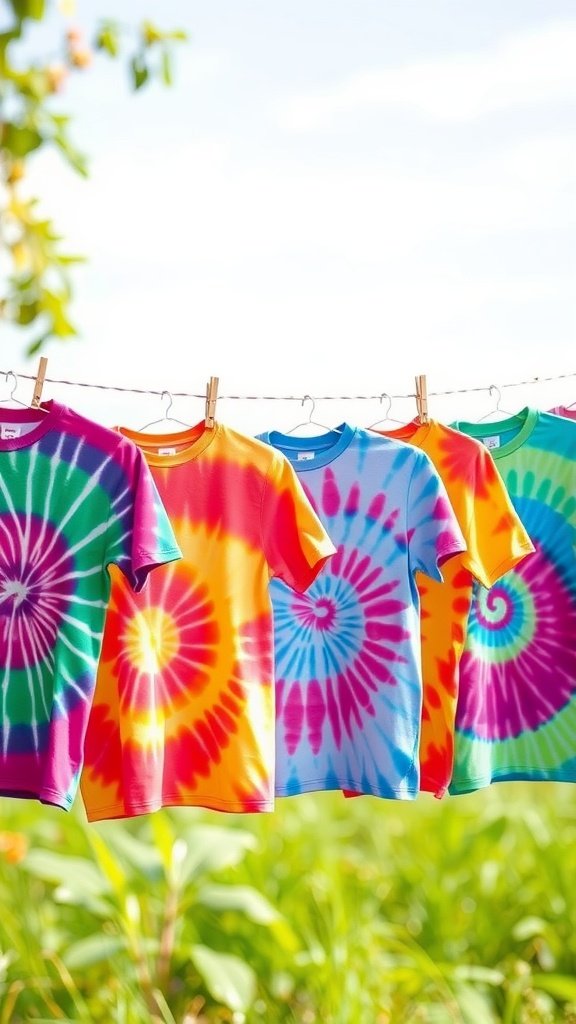
Nothing brings a smile like colorful tie-dye t-shirts. The vibrant patterns and bright colors are perfect for everyone, from kids to adults. These shirts not only look great, but they also let your creativity shine. Hanging on the line, the shirts display a cheerful mix of swirling colors that catch the light beautifully.
Making tie-dye shirts is a fantastic way to bond with family and friends. Imagine wearing something you created yourself! It’s fun, easy, and a little messy, which makes it even better.
Here’s how to create your own colorful masterpieces. You’ll need a few materials and follow some simple steps.
Playful Clay Animal Sculptures
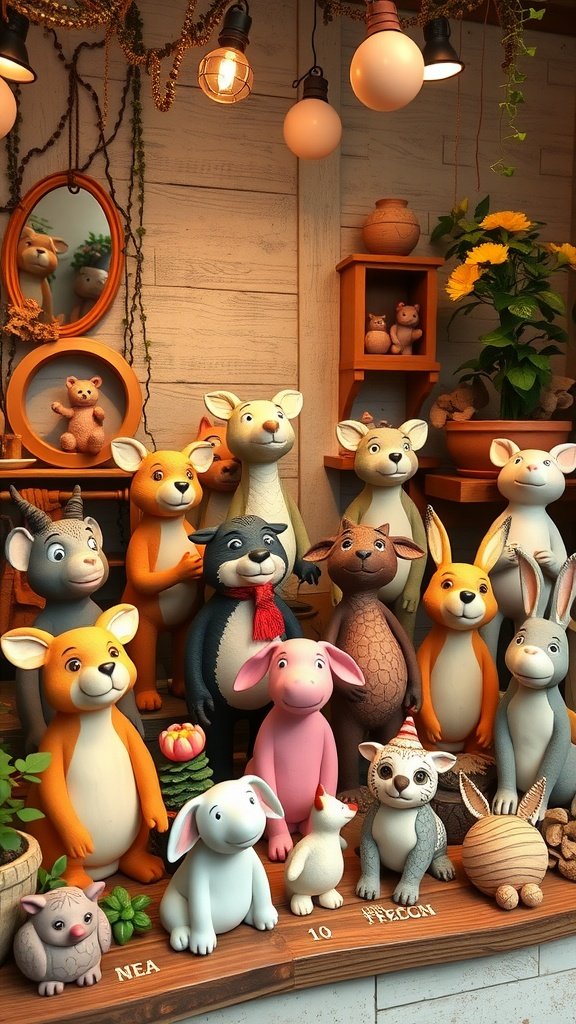
Creating playful clay animal sculptures is a delightful way to unleash your creativity. These charming figures range from adorable bunnies to mischievous foxes, all bursting with personality. You can easily bring a bit of whimsy into your space with these fun crafts.
To get started, gather your materials. You’ll need air-dry clay, sculpting tools, paint, and brushes. Optional items like googly eyes and tiny accessories can add extra flair. The vibrant colors and cute designs make these sculptures suitable for decorating your room, gifting to friends, or even as fun toys.
Whimsical Wall Art with Paper Flowers
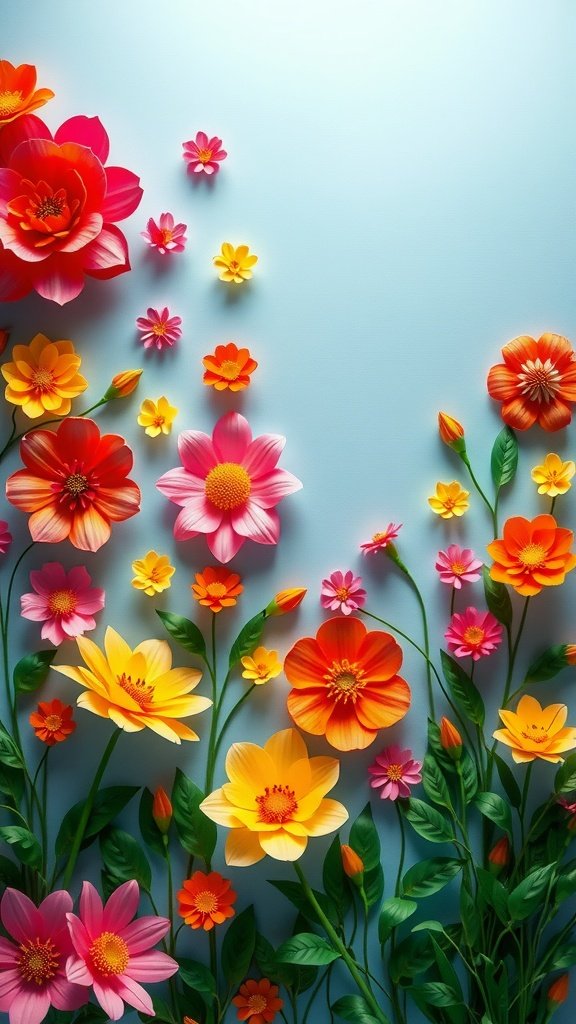
Creating whimsical wall art with paper flowers brings a burst of color and creativity to your space. The image showcases a beautiful arrangement of vibrant flowers that can instantly brighten up any room. Each flower is crafted with care, demonstrating the charm and artistry of paper crafts.
This project is not only fun but also allows you to express your personality through your decor. The playful colors and shapes of the flowers create a cheerful atmosphere, perfect for a playroom, bedroom, or even a home office.
Colorful Beaded Wind Chimes
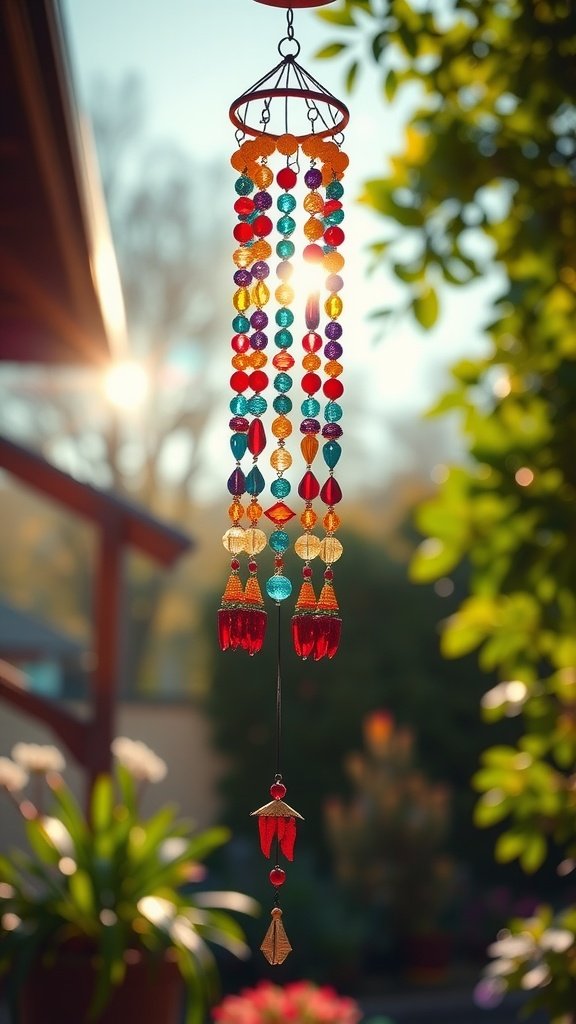
Beaded wind chimes add a playful touch to any outdoor space. Their colorful beads catch the light, creating a cheerful atmosphere. When the wind blows, they produce soft, melodic sounds that can brighten your day.
Making your own beaded wind chimes is not only fun but also a great way to express creativity. You can mix and match different colors and shapes of beads to match your style. Plus, these whimsical crafts can be personalized for gifts or home decor.
Whimsical Painted Stones for Garden Decor
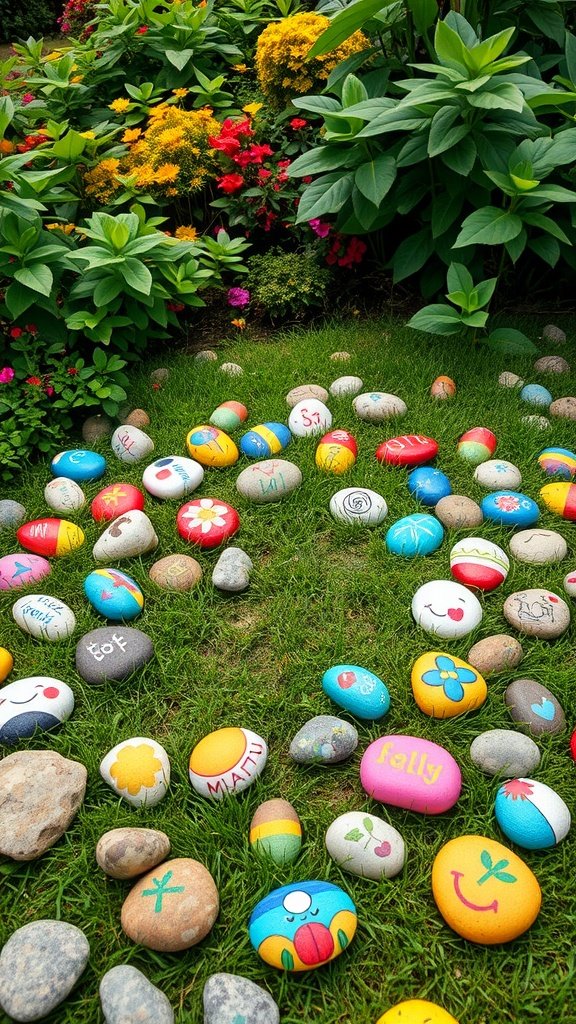
Painted stones can turn any garden into a lively, joyful space. These little masterpieces can be found scattered across green grass, surrounded by vibrant flowers. Each stone showcases playful colors and cheerful designs, creating a fun atmosphere.
Bringing creativity into your outdoor space is easy and enjoyable. With whimsical crafts like these painted stones, you can express your personality in your garden. Whether you choose to paint flowers, smiley faces, or inspiring words, each stone adds its own unique charm.
Creative Fabric Scrap Garlands
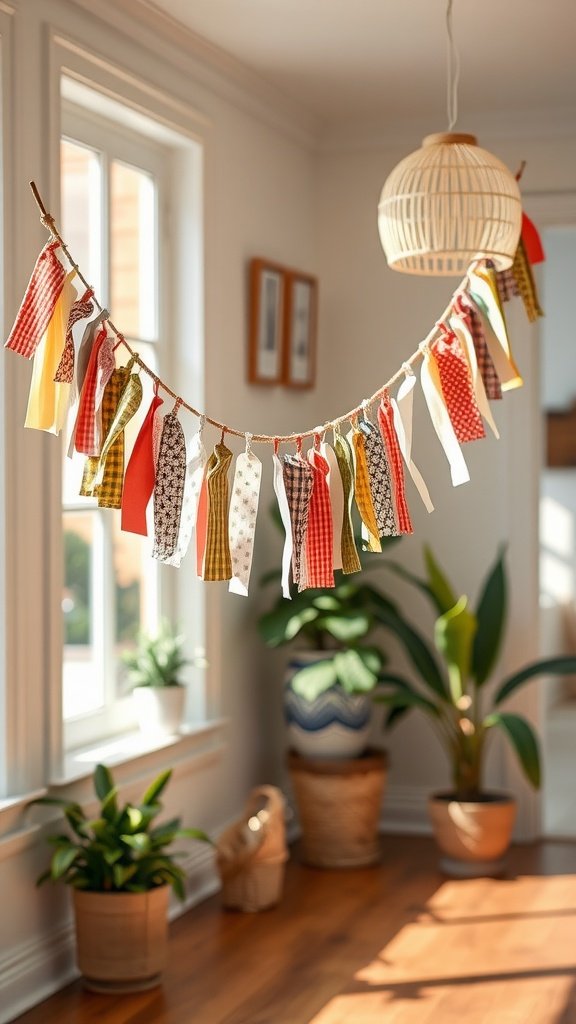
Creating a fabric scrap garland is a fun and easy project that brings a pop of color and creativity to any space. These garlands use leftover fabric pieces, making them both eco-friendly and budget-friendly. The image shows a cheerful collection of fabric flags strung together, adding a warm touch to a cozy room.
To start your own whimsical craft, here’s what you’ll need:
- Fabric scraps in various colors and patterns
- Scissors
- String or twine
- Glue or a sewing kit
Now, let’s dive into the steps to create your garland.
Fantasy-Themed Bookmarks with Charms
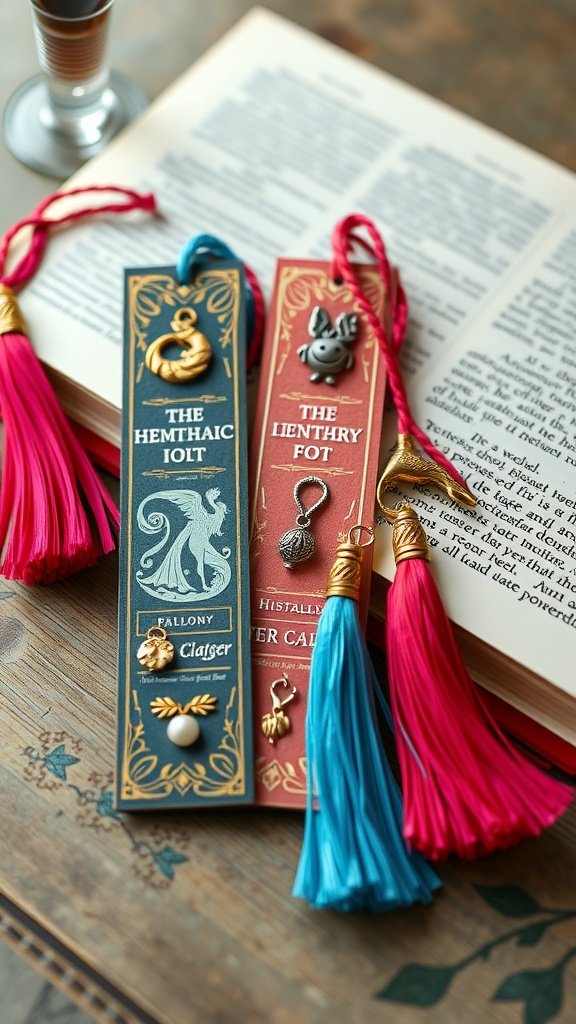
These bookmarks are a delightful way to blend reading with a bit of magic. Each bookmark features a design that transports you to a whimsical world. The colorful tassels add a fun pop, making them easy to spot in any book.
The bookmarks come adorned with charming little embellishments. These could be tiny symbols or characters that reflect the stories you love. Not only are they practical, but they also serve as tiny pieces of art, elevating your reading experience.
Creating your own fantasy-themed bookmarks can be a fun project. Here’s how to get started!
Materials Needed
- Cardstock or thick paper
- Colorful tassels
- Charms or decorative embellishments
- Glue
- Scissors
- Pencil or pen
- Hole punch
Instructions
- Cut the cardstock into bookmark-sized rectangles, about 2 inches wide and 6 inches long.
- Use your pencil or pen to draw or write designs on the bookmarks. Think about themes you enjoy!
- Once you’re happy with the designs, glue any charms or embellishments to the bookmarks. Let them dry completely.
- Use a hole punch at the top of each bookmark to create a space for your tassel.
- Thread the tassel through the hole and tie it securely.
Pro Tips
- Feel free to mix and match colors and charms to reflect your personality!
- Experiment with different shapes and sizes for your bookmarks.
- Consider making a set as a gift for a fellow book lover.
DIY Glitter Jars for Relaxation
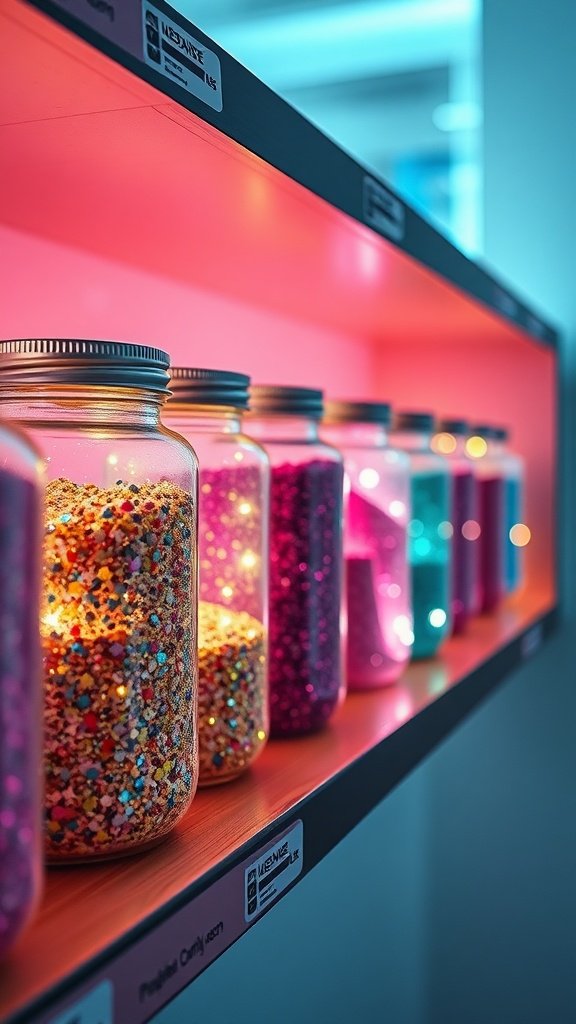
Glitter jars are a fun and calming project that anyone can do. These jars filled with glitter and water create a mesmerizing effect that helps to soothe the mind. The image showcases an array of glitter jars in attractive colors, each sparkling under soft lights. Just looking at them can bring joy and a sense of peace!
Making your own glitter jars is a fantastic way to unwind. You can customize the colors and add personal touches that reflect your style. Plus, they make delightful decorations for your home. Let’s gather what you need and get started!
Materials Needed:
- Clear glass or plastic jars with lids
- Glitter in various colors
- Water
- Liquid glycerin (optional, for slower movement)
- Food coloring (optional)
- Hot glue gun (to seal the lid)
Instructions:
- Start by filling your jar about one-third full with glitter.
- Add water until the jar is almost full. Leave some space at the top.
- If you want the glitter to swirl slowly, add a few drops of glycerin.
- If you wish to add color, drop in some food coloring and stir gently.
- Carefully screw on the lid. For extra security, use a hot glue gun to seal the edges.
- Shake the jar gently and watch the glitter dance and twirl!
Pro Tips:
- Experiment with different glitter sizes and types for unique effects.
- Try adding small toys or charms inside the jar for an extra whimsical touch.
- Use a variety of jar sizes to create a collection that looks beautiful together.
Creating these whimsical crafts can turn a simple afternoon into a relaxing experience. Plus, they make lovely gifts or additions to your space!
Charming Washi Tape Art Projects
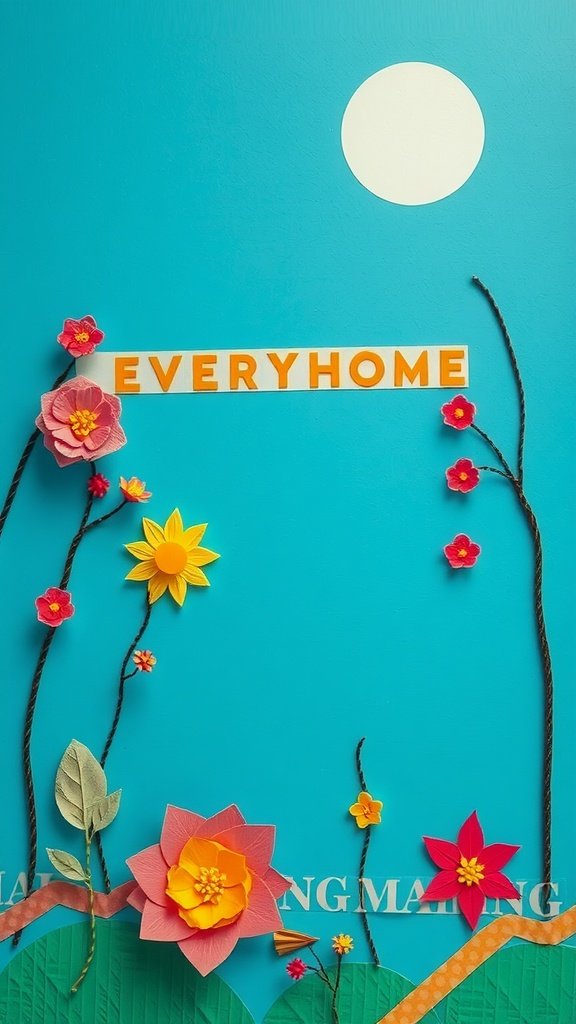
Washi tape is a fun and easy way to brighten up any space. This image shows a delightful scene filled with colorful paper flowers and a bright blue background. The flowers, made of various paper patterns, create a cheerful atmosphere. You can feel the creativity bursting from the arrangement. The bright yellows, pinks, and reds stand out beautifully against the blue, making it an ideal inspiration for whimsical crafts.
Let’s dive into creating your own washi tape art project! This craft is perfect for decorating your room or making personalized gifts.
Embellished Jars for Storing Treasures
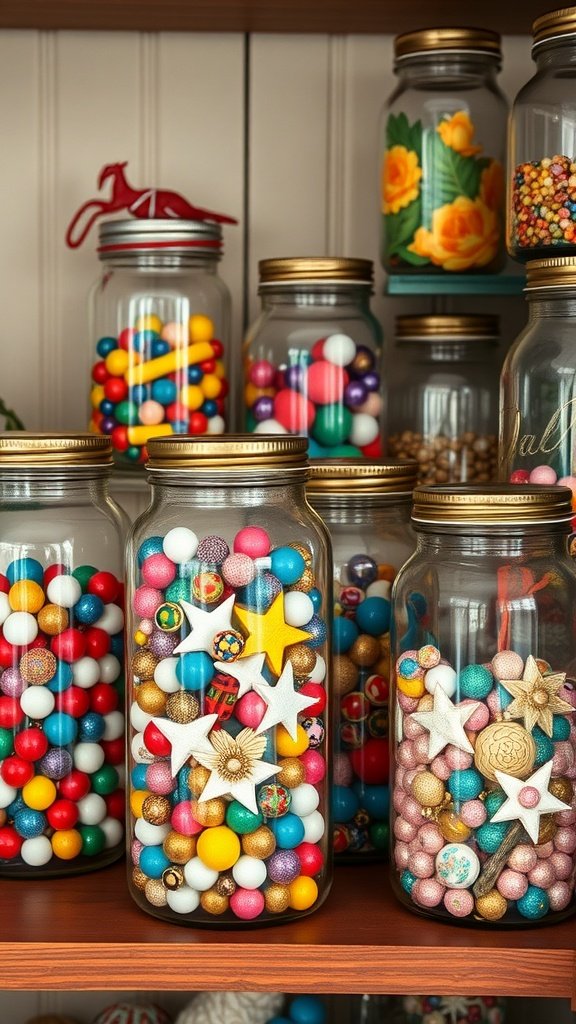
What’s more delightful than having a collection of beautiful jars filled with colorful treasures? These embellished jars can brighten up any space and are perfect for storing small items like beads, buttons, or even candy. They can turn into a fun decoration piece that shows off your unique style.
To make your own whimsical jars, you’ll need a few materials and some creativity. Think about the colors and themes that reflect your personality. The jars in the image are filled with shiny beads and stars, creating a cheerful display that draws the eye.
Imagine walking into a room and seeing jars filled with vibrant colors. It’s a simple yet effective way to add charm to your decor. Plus, you can easily change out the contents as your collection grows!
Whimsical Photo Frames with Nature Elements
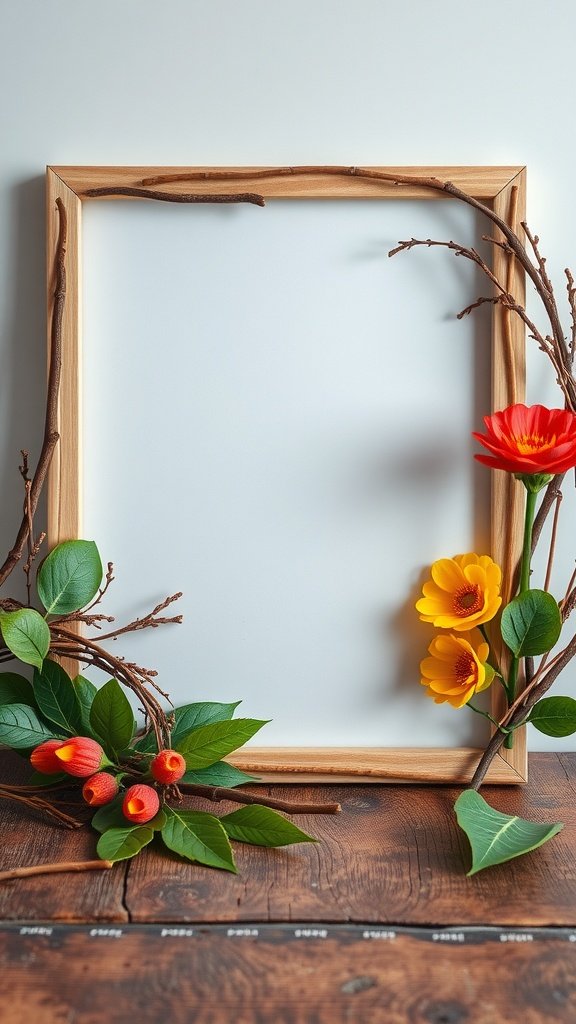
Creating whimsical photo frames using natural elements is a fun and creative way to display your favorite memories. The image showcases a charming wooden frame adorned with beautiful flowers and twigs, giving it a rustic and delightful vibe. It’s an eye-catching way to bring a touch of nature into your home decor.
Each frame tells a story, capturing the essence of the outdoors. You can personalize these frames to match your style, making them the perfect addition to any room. This craft is not just enjoyable; it also allows you to reconnect with nature and get a little crafty!
Here’s how you can make your own whimsical frames at home.
Silly Silhouette Art for Kids
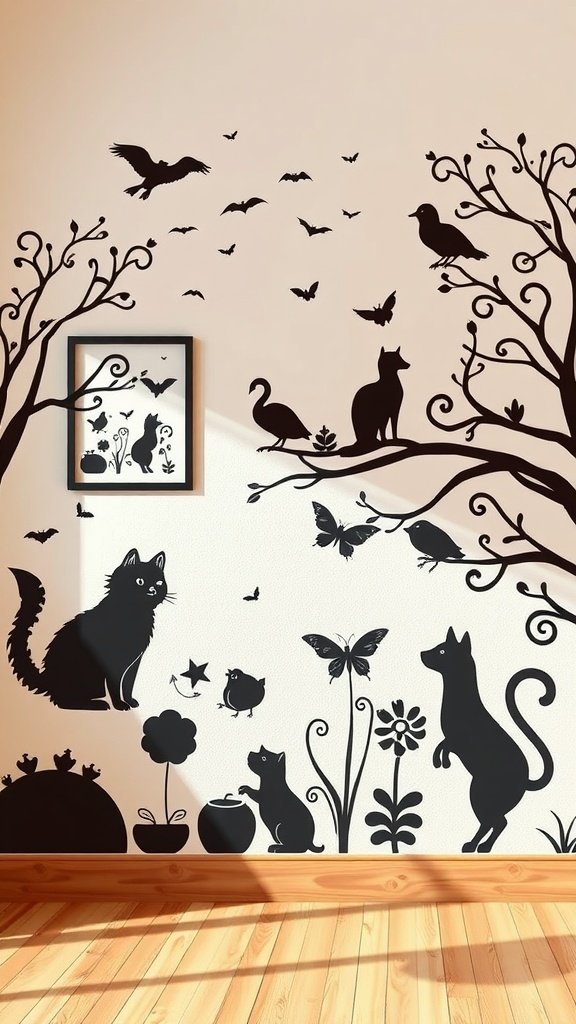
Silhouette art is a fun way to express creativity. The image shows playful black silhouettes of cats, birds, and trees against a light wall. This craft can easily brighten any space and is perfect for kids to explore their artistic side.
Creating your own silly silhouette art is a great project that involves simple materials and lots of imagination. Kids can experiment with shapes and designs, making it a fun family activity.
DIY Stained Glass Window Clings

Stained glass window clings add a touch of color and fun to any space. Imagine a window filled with vibrant stars and shapes that catch the sunlight beautifully. These clings can brighten up your home and bring a sense of whimsy to your decor.
Creating your own stained glass window clings is simple and enjoyable. You can use various colors and shapes to match your style. Here’s how to make them at home!
Whimsical Origami Animals Display

Origami isn’t just for paper planes. This delightful display showcases a variety of whimsical origami animals that are sure to bring a smile. Each piece, from colorful birds to charming dinosaurs, brings a unique flair to any space.
The vibrant colors and playful shapes highlight the creativity involved in this craft. Whether you’re young or just young at heart, these little paper critters can brighten up your day. Plus, they make great decorations for parties or a fun learning activity for kids!
Making these origami animals is a wonderful way to engage with whimsical crafts. It’s not only a fun hobby but also a chance to develop fine motor skills and patience.
Fantasy Creature Masks for Imaginative Play
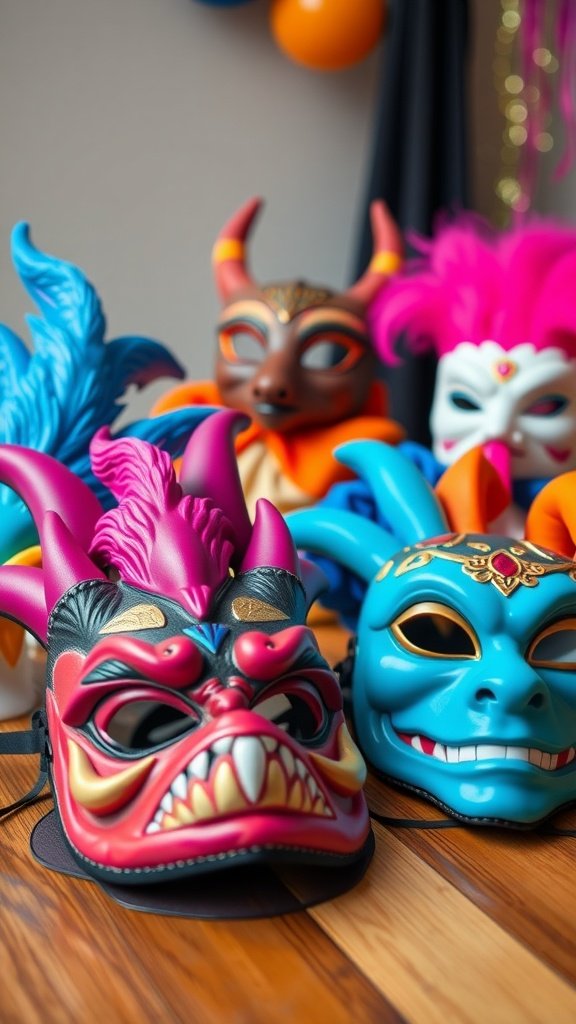
Creating fantasy creature masks is a fun way to let imagination soar. These masks can transform any ordinary day into a whimsical experience. Picture colorful designs, unique shapes, and characters that spark joy and creativity.
Just look at these vibrant masks! Each one has its own personality. Some have wild horns, while others sport bright feathers or intricate patterns. They are perfect for imaginative play, whether for a party or simply for dressing up at home.
To get started on making your own whimsical creature masks, gather some basic materials and follow these simple steps.
Materials Needed:
- Cardboard or thick paper
- Markers, paints, or colored pencils
- Scissors
- Elastic string or ribbon
- Decorative items (like feathers, sequins, or stickers)
- Glue
Instructions:
- Draw the mask shape on the cardboard. Think about the creature you want to create!
- Cut out the mask carefully.
- Decorate the mask using markers, paints, or any decorative items you like.
- Make holes on the sides of the mask and attach elastic string or ribbon for wearing.
- Try it on and get ready to play!
Pro Tips:
- Use bright colors to make your mask pop!
- Feel free to mix different textures and materials for added flair.
- Invite friends to join in the mask-making fun for even more creativity.
Charming Knit or Crocheted Toys
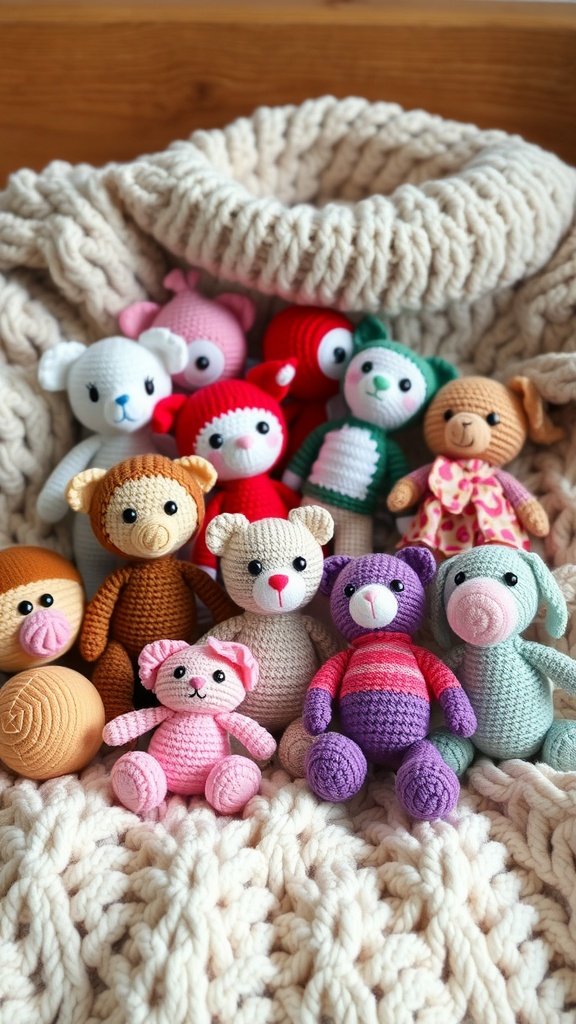
Bringing playful joy into our lives can be as simple as making delightful knit or crocheted toys. The image showcases a colorful collection of adorable, handmade creations that spark imagination. Each little character is unique, radiating charm and warmth.
When you create these whimsical crafts, you’ll find they make wonderful gifts or decor. The soft textures and bright colors invite children and adults alike to engage with them, offering comfort and companionship.
DIY Enchanted Forest Diorama
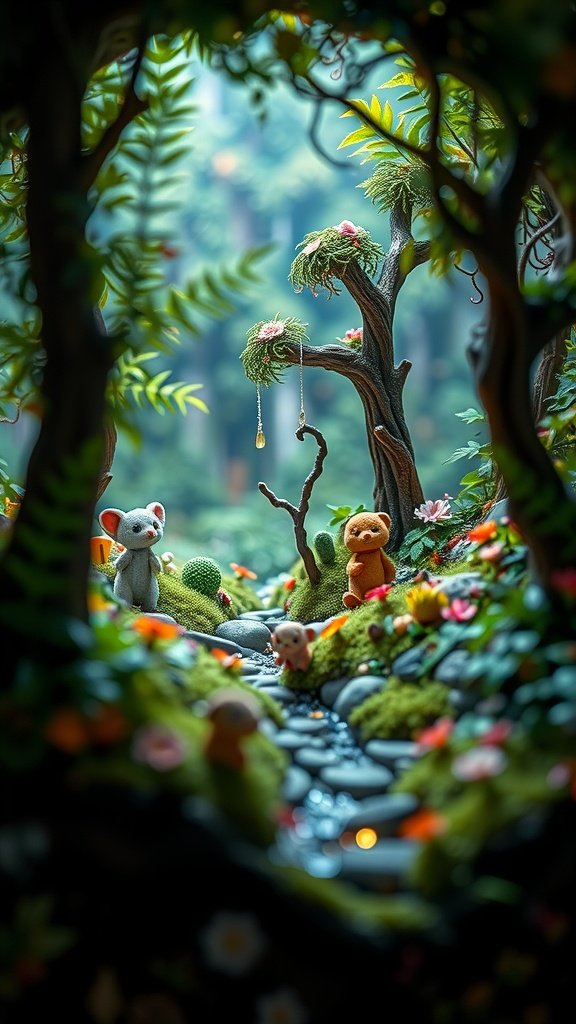
Creating a DIY enchanted forest diorama is a delightful way to bring a bit of magic into your home. This whimsical craft features adorable characters and lush greenery, making it perfect for all ages. Each little detail can spark joy and creativity!
To start your own diorama, you’ll want to include tiny trees, colorful flowers, and cute critters. This scene captures the essence of a serene forest, inviting imagination and playfulness. It’s a perfect project for those who love to create unique and charming decorations.
Quirky Button Art Creations
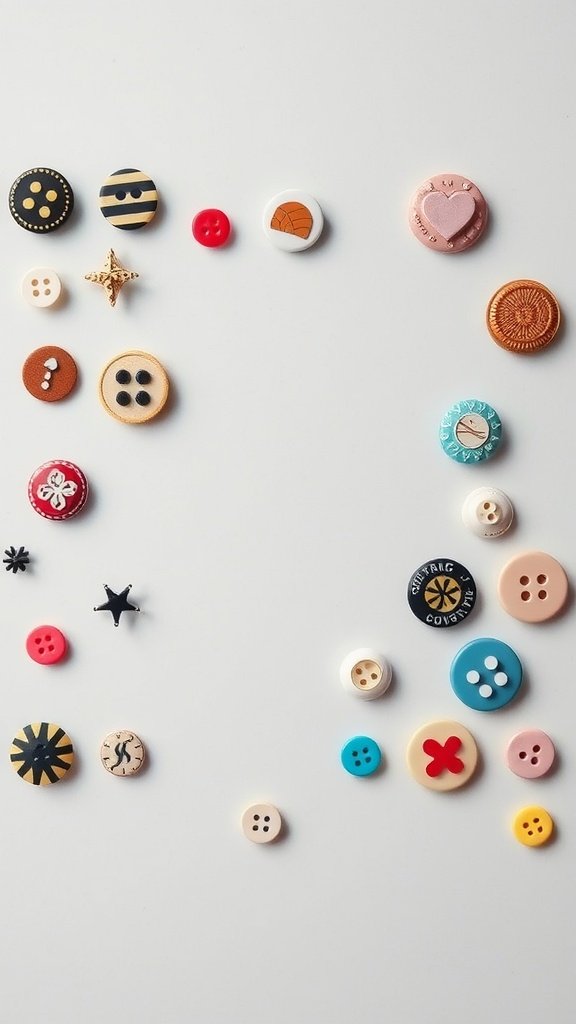
Button art is a fun and simple way to bring color and personality into your home. With just a handful of buttons, you can create whimsical designs that add a playful touch to any space. These creations can serve as unique decorations or thoughtful gifts.
Gather your materials and let your creativity flow. The buttons come in various shapes, colors, and sizes, making it easy to mix and match. Whether you choose to make a cute heart shape or a funky abstract design, the possibilities are endless!
Fanciful Hand-drawn Coloring Pages
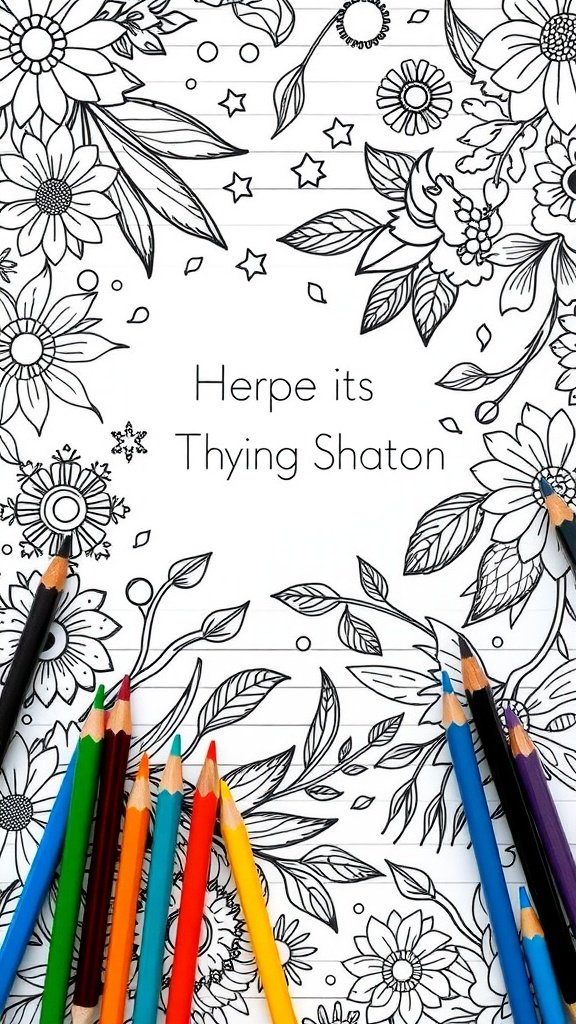
Coloring pages are a delightful way to unwind and get creative. The image features an intricate hand-drawn design filled with flowers, leaves, and whimsical elements. This kind of artwork invites everyone, from kids to adults, to pick up some colors and bring it to life.
To make the most of your coloring session, gather your materials. You’ll need coloring pencils or markers in various colors, a comfortable workspace, and, of course, the coloring page itself. These pages are perfect for relaxing after a long day or for a fun group activity with friends and family.
Here’s how to get started: First, find a cozy spot where you can spread out your materials. Next, choose your favorite colors and start filling in the designs. There’s no right or wrong way to color; just let your imagination flow! Try blending colors or using different coloring techniques to enhance your artwork.
Pro tip: If you find it hard to stay within the lines, consider using lighter colors first. This way, you can easily cover any mistakes with bolder shades later.