Bring the beauty of tulips to your nails with this easy and elegant DIY design!
Introduction
French tip nails are a timeless classic, but why not elevate them with delicate tulip designs for a fresh, spring-inspired look? Follow this detailed tutorial to master a design that’s perfect for the season while learning pro tips to achieve a flawless finish.
Materials You’ll Need:
- Base coat (for protection and smooth application)
- White nail polish (for classic French tips)
- Pink, red, or purple nail polish (for tulip blossoms)
- Green nail polish (for stems and leaves)
- Thin nail art brush or dotting tool (for detailed designs)
- Top coat (to lock in your art)
- Nail polish remover and brush (for clean-up)
Step 1: Prep Your Nails
Instructions: Start by cleaning and trimming your nails to your desired length. Push back cuticles and gently buff your nail surface—this helps polish adhere better and last longer. Hydrate your nails with a cuticle oil but wipe off excess before polishing.
Picture this: Imagine fresh, clean nails ready to blossom into a work of art. You’ve laid the foundation for a beautiful creation!
Step 2: Apply Base Coat
Instructions: Paint a thin, even layer of base coat on each nail and let it dry completely. A base coat prevents staining, extends polish wear, and smooths out ridges.
Picture this: Visualize your nails protected and prepped, a clear canvas ready for your springtime masterpiece!
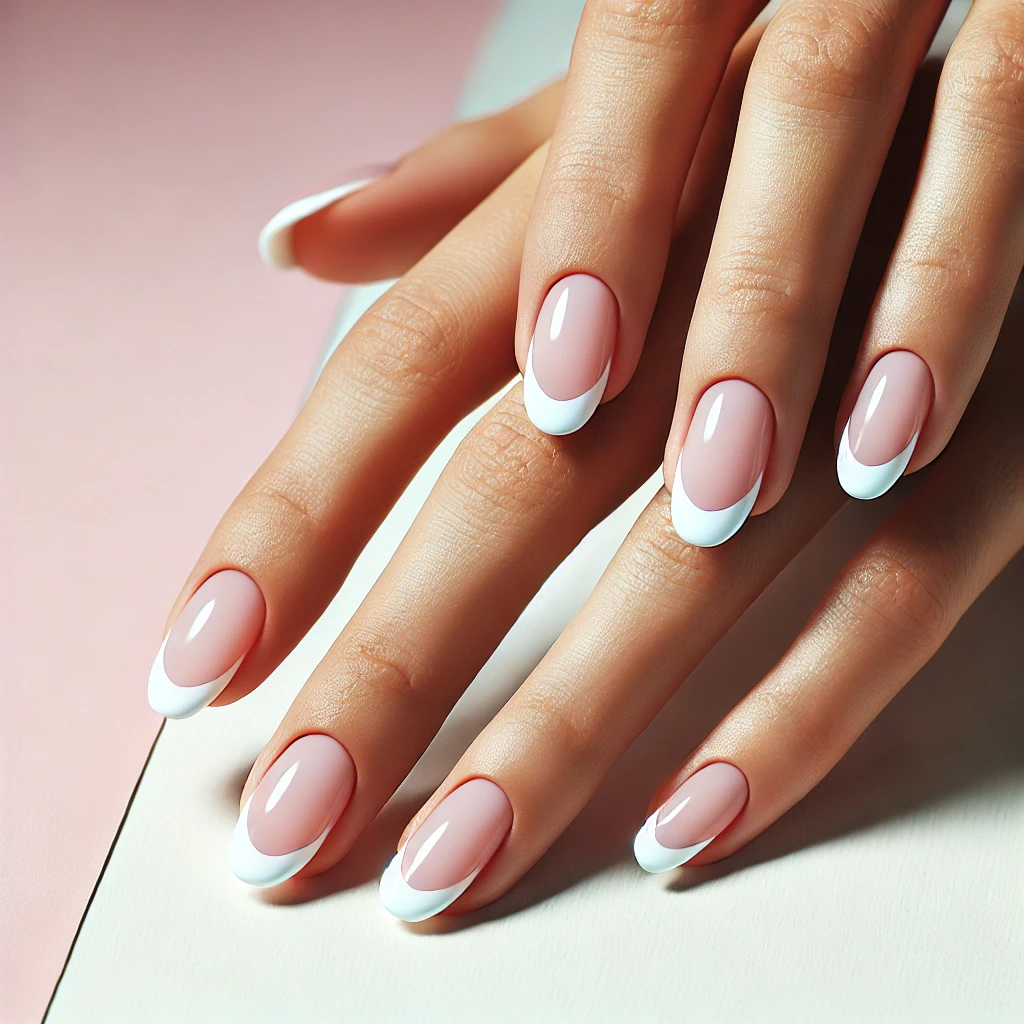
Step 3: Create the French Tips
Instructions: Using white polish, paint the tips of your nails. Use tape or a tip guide for precision if you’re a beginner. Keep the brush strokes light to avoid thick edges.
Pro Tip: A natural curve mimics a salon finish. If you slip, clean up edges with a small brush dipped in remover.
Picture this: Crisp, clean tips—like petals blooming under a spring sky—set the stage for your tulip design.
Step 4: Outline the Tulip Stems and Leaves
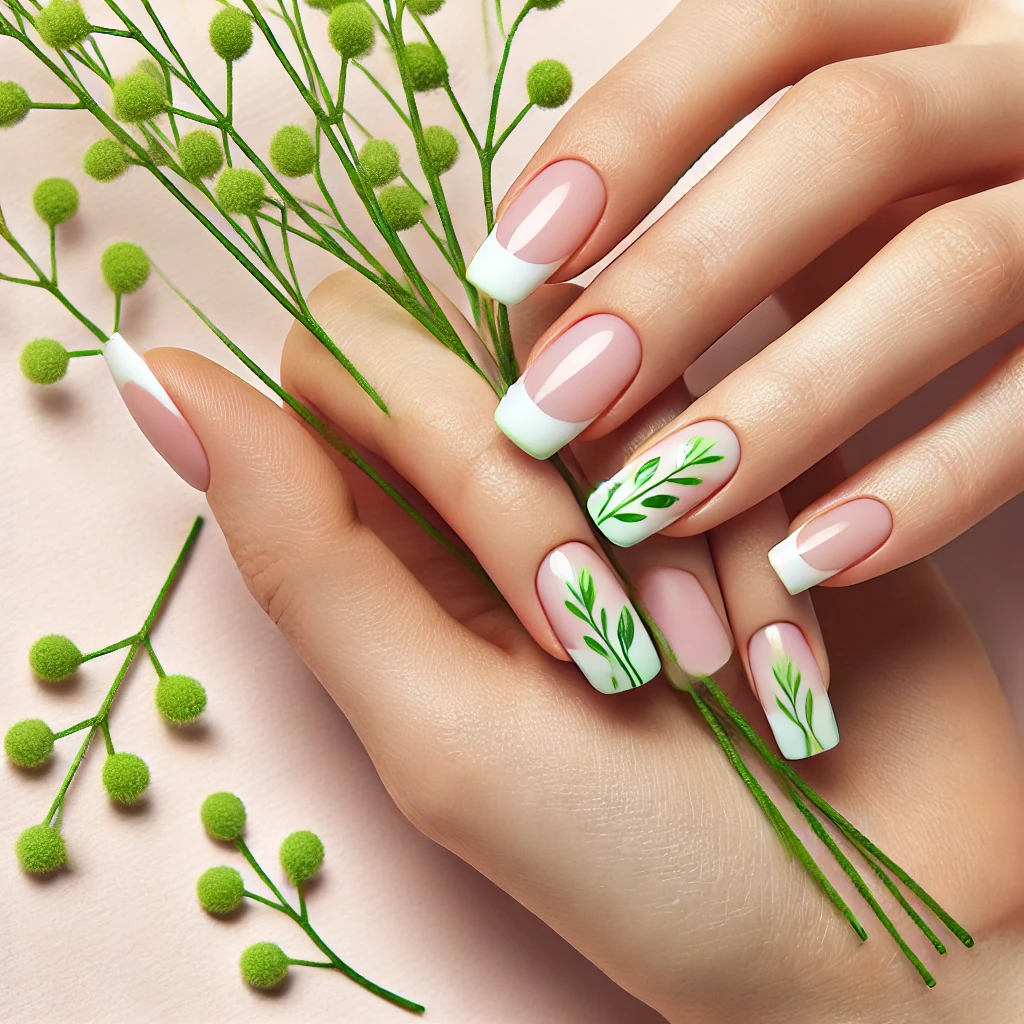
Instructions: Dip a thin brush into green polish and draw delicate lines from the white tips downward to form stems. Add tiny flicks for leaves to enhance the floral effect.
Pro Tip: Vary stem heights for a natural, garden-like look.
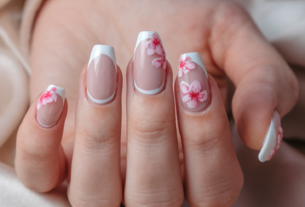
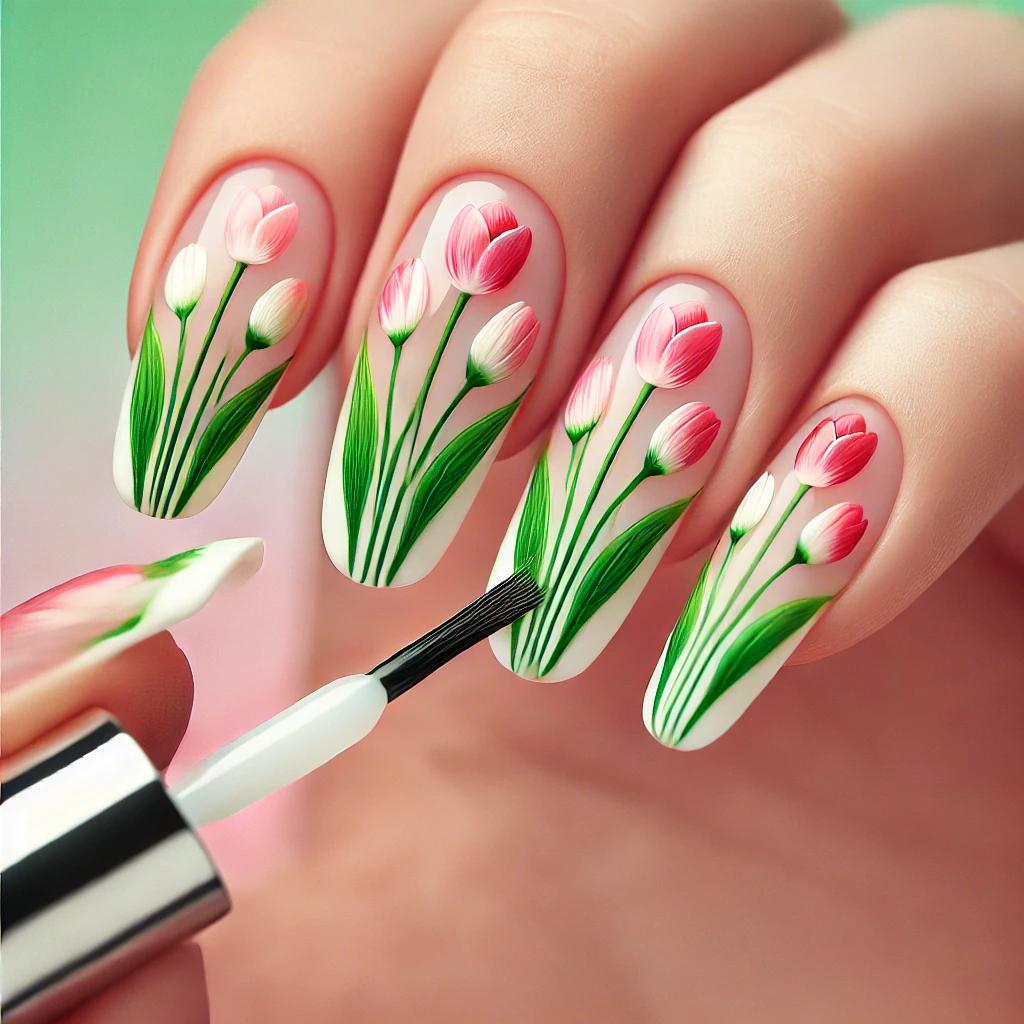
N.B. For the look on the featured image replace the color in this step with a goldy pink.
Picture this: Imagine lush spring stems reaching for the sky, ready to bloom into vibrant tulips.
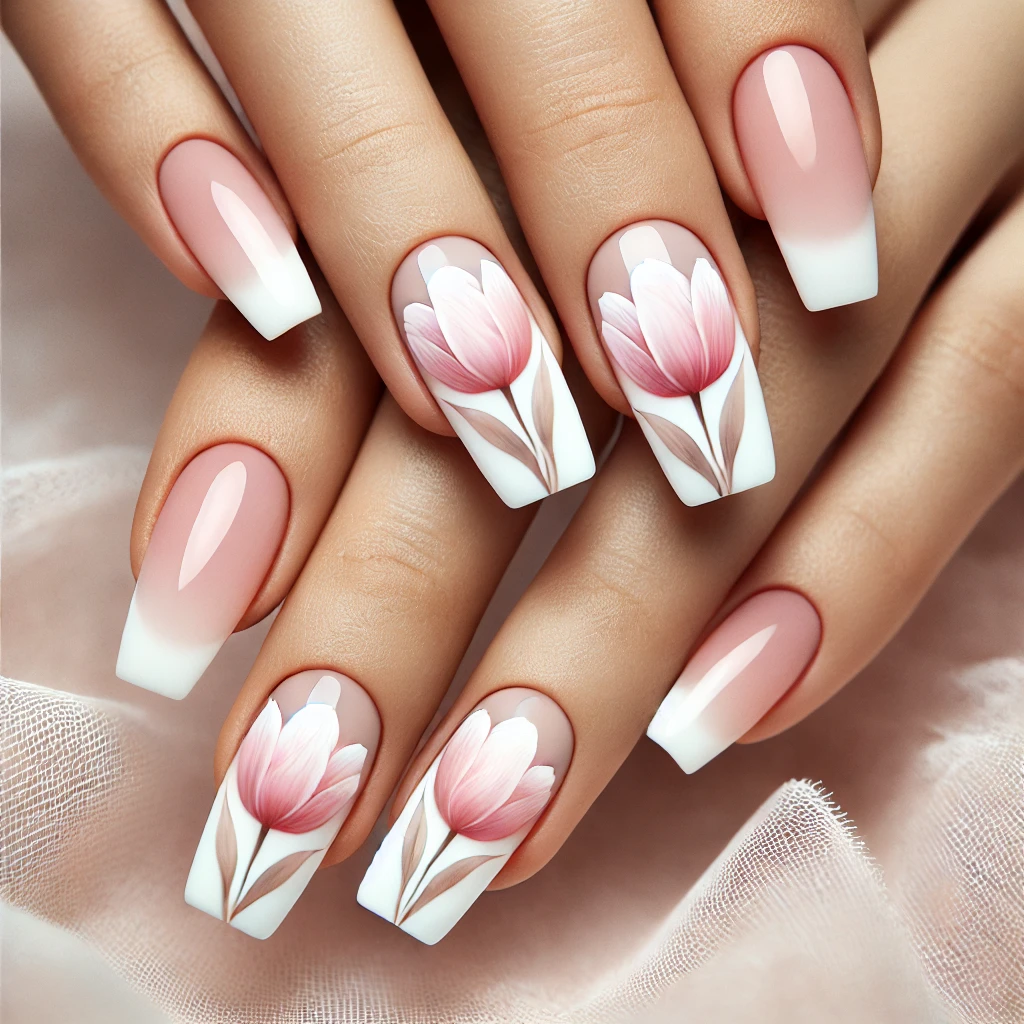
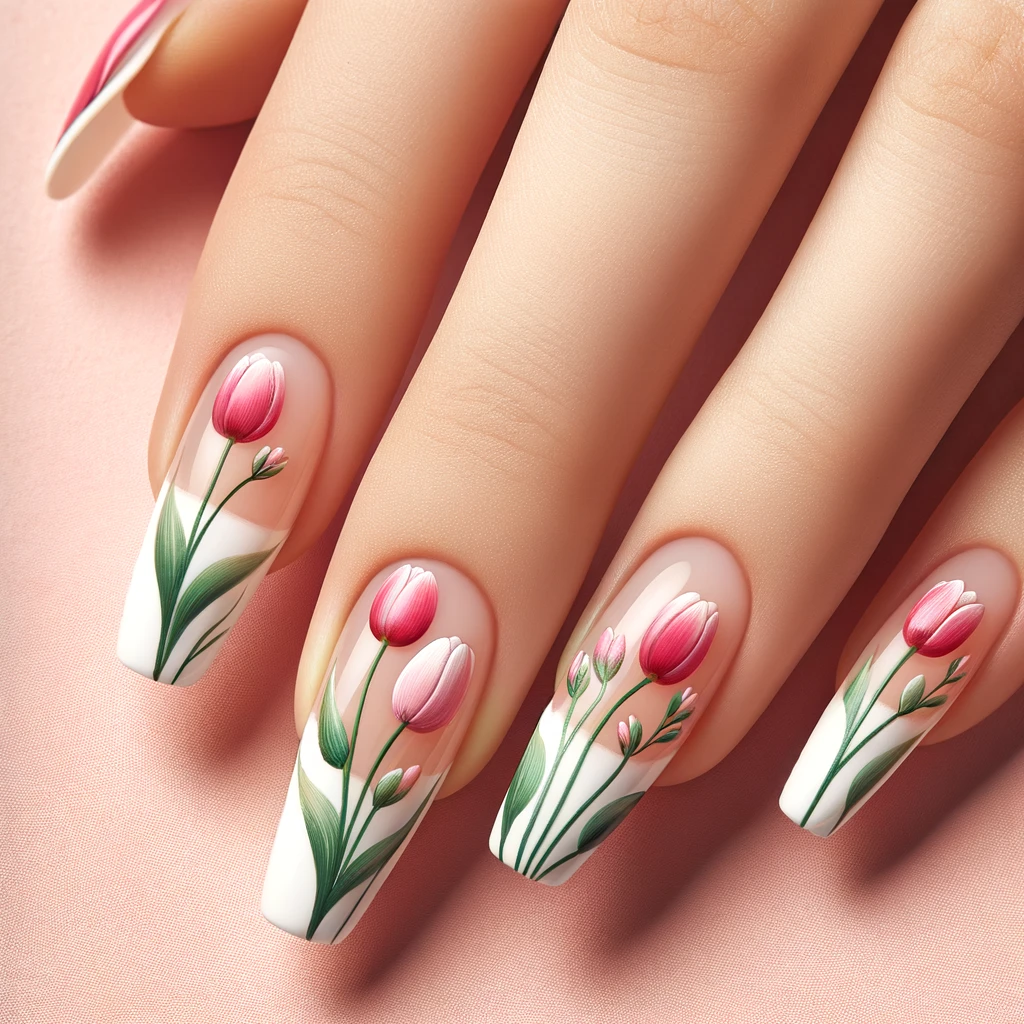
Step 5: Paint the Tulip Petals
Instructions: Use a dotting tool or the tip of a brush to create two or three small, rounded petal shapes above each green stem in your chosen tulip colors. Build dimension by layering colors.
Pro Tip: Tulips are simple, so embrace imperfection—the charm is in their organic look.
Picture this: Visualize delicate tulips unfolding on your fingertips—a tiny garden you crafted yourself!
Step 6: Add Petal Details (Optional)
Instructions: With a lighter or darker shade, add tiny curved strokes inside each petal for dimension. Focus on subtle detailing rather than perfection.
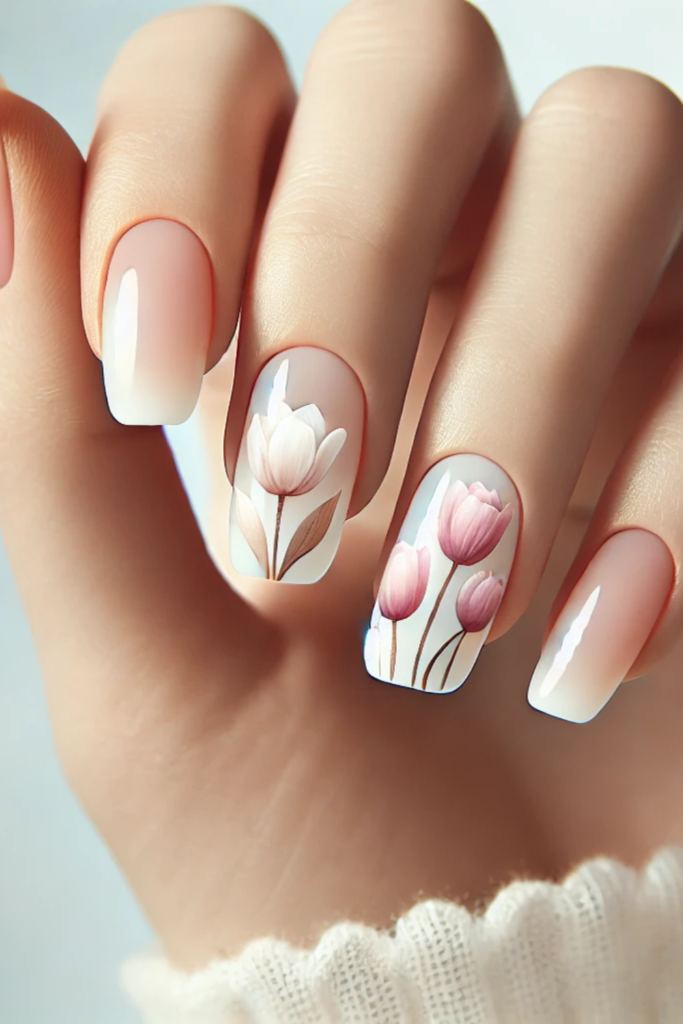
N.B. If you prefer the look in the featured image, use pink and white to add petal dimension (see below).
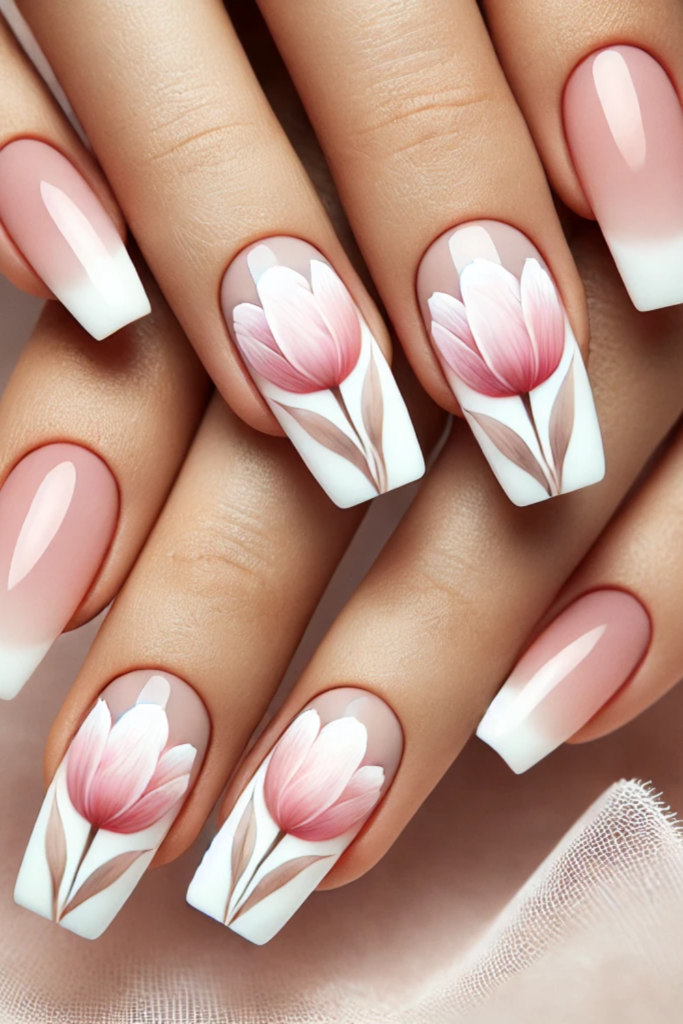
Picture this: Think of soft highlights dancing on your petals in the spring sunlight—unique and elegant.
Step 7: Seal with Top Coat
Instructions: Apply a top coat generously but carefully to lock in your design and create a glossy, professional finish. Let it dry completely before using your hands.
Pro Tip: A quick-dry top coat reduces smudges and adds durability.
Picture this: Your nails shine like dew-kissed tulips on a fresh spring morning—flawless and vibrant.
Step 8: Clean Up Edges
Instructions: Use a small brush dipped in polish remover to clean around your cuticles for a polished look.
Pro Tip: Clean edges are the secret to making even DIY nail art look salon-worthy.
Picture this: Your design blooms beautifully, with every detail crisp and precise—because you deserve perfection.
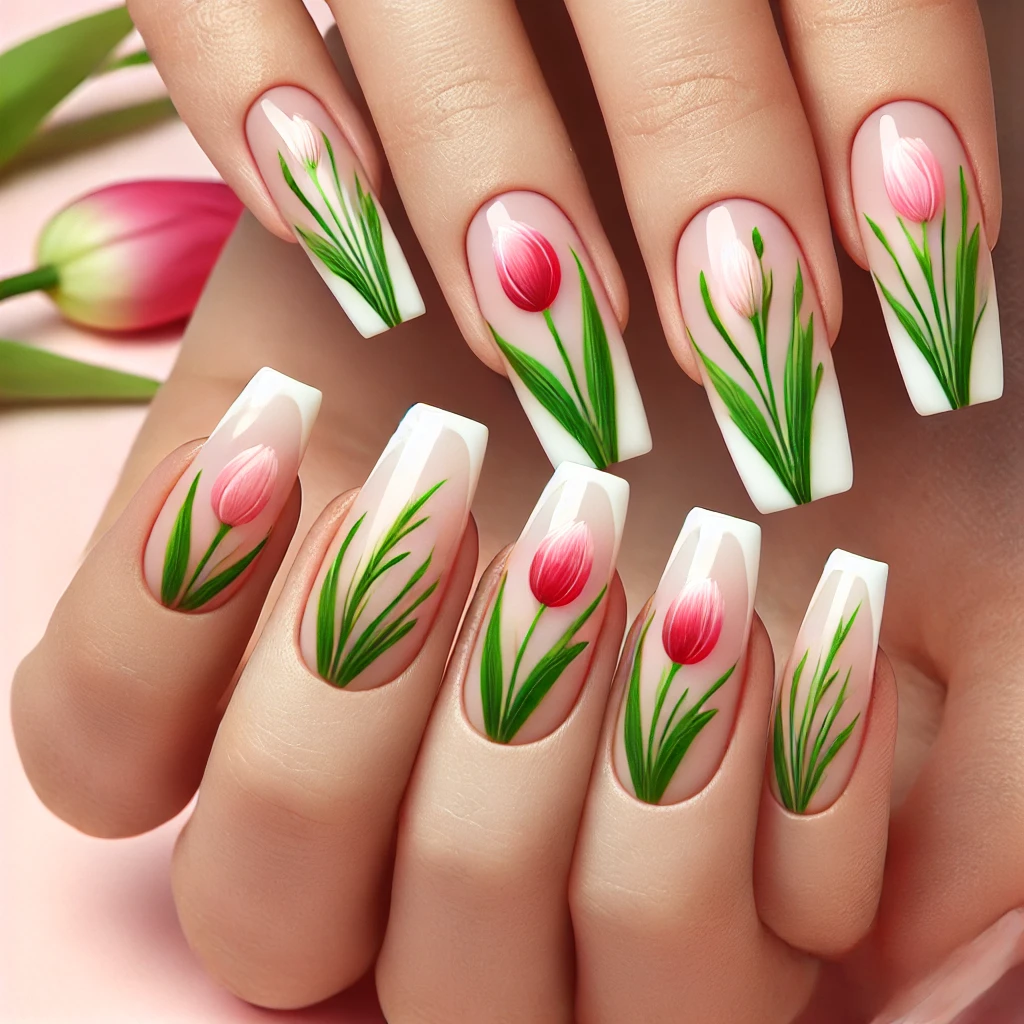
Let your creativity shine! As you can see from our different versions, there’s no set way to do the tulips. You can showcase your own ideas of beautiful nails with tulips. Enjoy your creations!
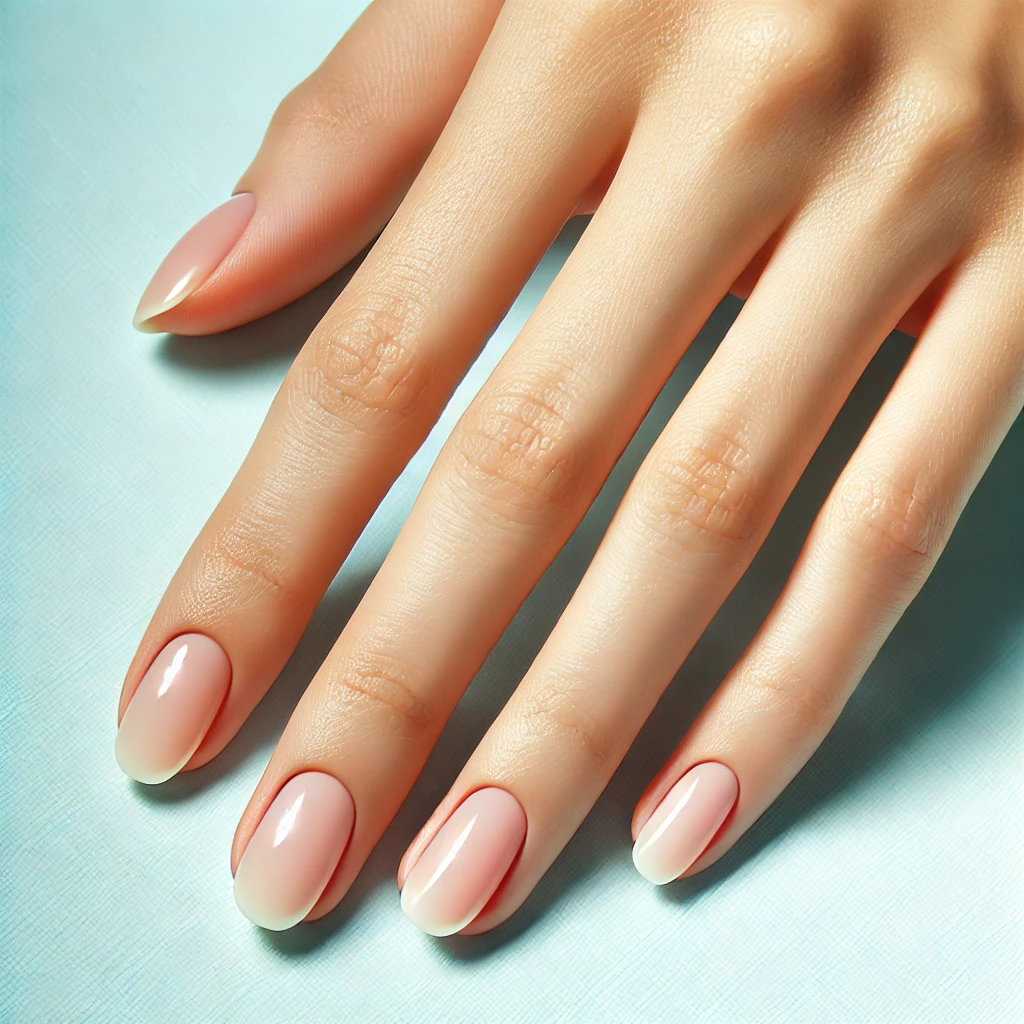
If you prefer a softer pink tulip on a softer nail color see the beautiful nails below.
Final Thoughts
This charming French tip with tulip design is perfect for springtime or summertime events, Easter celebrations, or simply embracing seasonal beauty. Let your creativity bloom and enjoy the joy of creating something beautiful from scratch.
🌷✨ You’ve got this—let your nails tell a springtime, Easter or summertime story! Share your stunning creations with us on Pinterest! 💅